Problem: Dogs like to look out the window, but are too short to do so without standing on their hind legs.
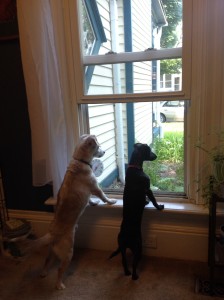
Solution: Build a window seat for canines.
So my wife asked, “Do you think you could build a bench so the dogs can sit and look out the window?” Why, of course I can. And what’s more, I have nearly all the materials I need right on hand, in the ridiculous amount of scrap lumber stored beside my shed, some from finished projects, some from projects that never got finished (or even started, beyond a trip to the lumber store), and some from the bunkbeds I built eight years ago and tore down last year. And so it began.
First, figure out your dimensions, then find sufficient scrap to cut our your framing pieces to match those dimensions. 2x2s would have been wholly sufficient, especially since our dogs combine weigh probably only thirty pounds. But I didn’t have much of that, whereas I have a plethora of 2×4 sitting around waiting to be used or reused.
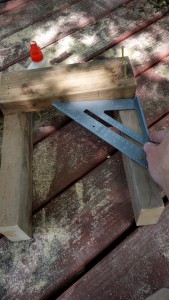 Next, build the frame. Rectangles are structurally unsound, so I glued the pieces together for rigidity. Because the framework needs to be as straight as possible, be sure to square up the framing pieces before you attach them.
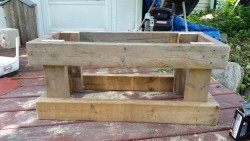 Oh, you know that moment when you pause to make sure you’re assembling the pieces correctly before you permanently attach them to each other? Neither do I. The frame was supposed to be slightly deeper than it is high, but instead it ended up slightly higher than it is deep. Fortunately the difference was slight enough that it both looks and works fine.
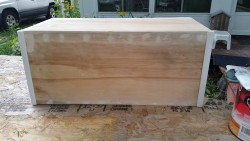 For the sides, I finally found a use for one of the 8 foot long sheets of 5 mil plywood from the bunkbeds that I didn’t really have space to store (my kingdom for a garage, alas).
For the base of the cushioned top I wanted something sturdier than the 5 mil, so I grabbed another piece of wood I didn’t really have room for, some OSB left over from when I replaced a section of roof last year. That stupid long piece sticking out in the picture below? Yep, more than big enough to cut out the top. That left a couple of smaller pieces from that projection, and knocked the remainder down to a 4×4 size that’s much more convenient for storage.
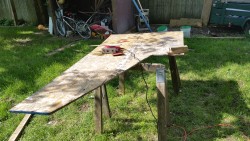
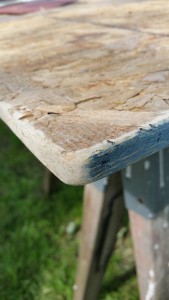
Because the top would be covered by cloth, and OSB is not very smooth, I rounded off the edges and corners with a sander.
I finished the project by painting it with some white paint left over from refreshing the trim in our dining room, and made the pad for the top. The dogs seem to like it.
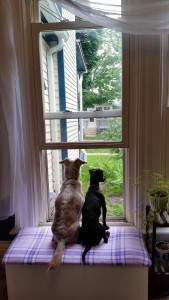
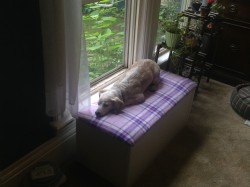
The only materials costs were the corner trim (cheap foam corner trim, because it’s just a dog bed) for $2.64, and the padding and cloth for the top, which we got for 60% off, totaling $7.42, a total of $10.06.
Of course a proper accounting would also consider the cost of my time. But I can’t buy the satisfaction of building things myself.
About the Author
4 Responses to Hanley’s Old House: $10 Dog Perch Edition
Leave a Reply
please enter your email address on this page.

Of course, if you’d hinged the top, you could store stuff in it.
The top is not yet permanently affixed, as we are considering that option.
In the first house we lived in after we got Lisby, she really loved to lay on the back of the sofa and look out the window. So when we moved across town, we made sure to put the sofa up against the window even though that wasn’t the most convenient setup for us.
Oddly, she had no interest in it then. And has had no interest in it since.
Ungrateful bitch